Managing the payment flow
Use the ProcessOut Dashboard to control your Dynamic Checkout payment user interface.
Go to Dashboard › Checkout to manage Dynamic Checkout. You will be presented with the list of your configurations and the payment methods that they use.
Create a configuration
The first level of control in Dynamic Checkout is configurations. Configurations allow you to manage your payment pages based on the need of your business.
For example, a merchant that works across multiple countries might define one configuration per country, or a merchant with several lines of business or websites may create a configuration per website.
You can choose to use a single configuration so that all your users get the same payment experience. In that case, you can skip the Filters section below.
Filters
ProcessOut selects the configuration to use during a payment based on its filter. The filter lets you match information about the transaction. Filters currently support the following fields:
- Transaction currency
- Transaction amount
- Metadata fields
You can set a configuration’s filter by clicking on the configuration and editing its filter in the sidebar.
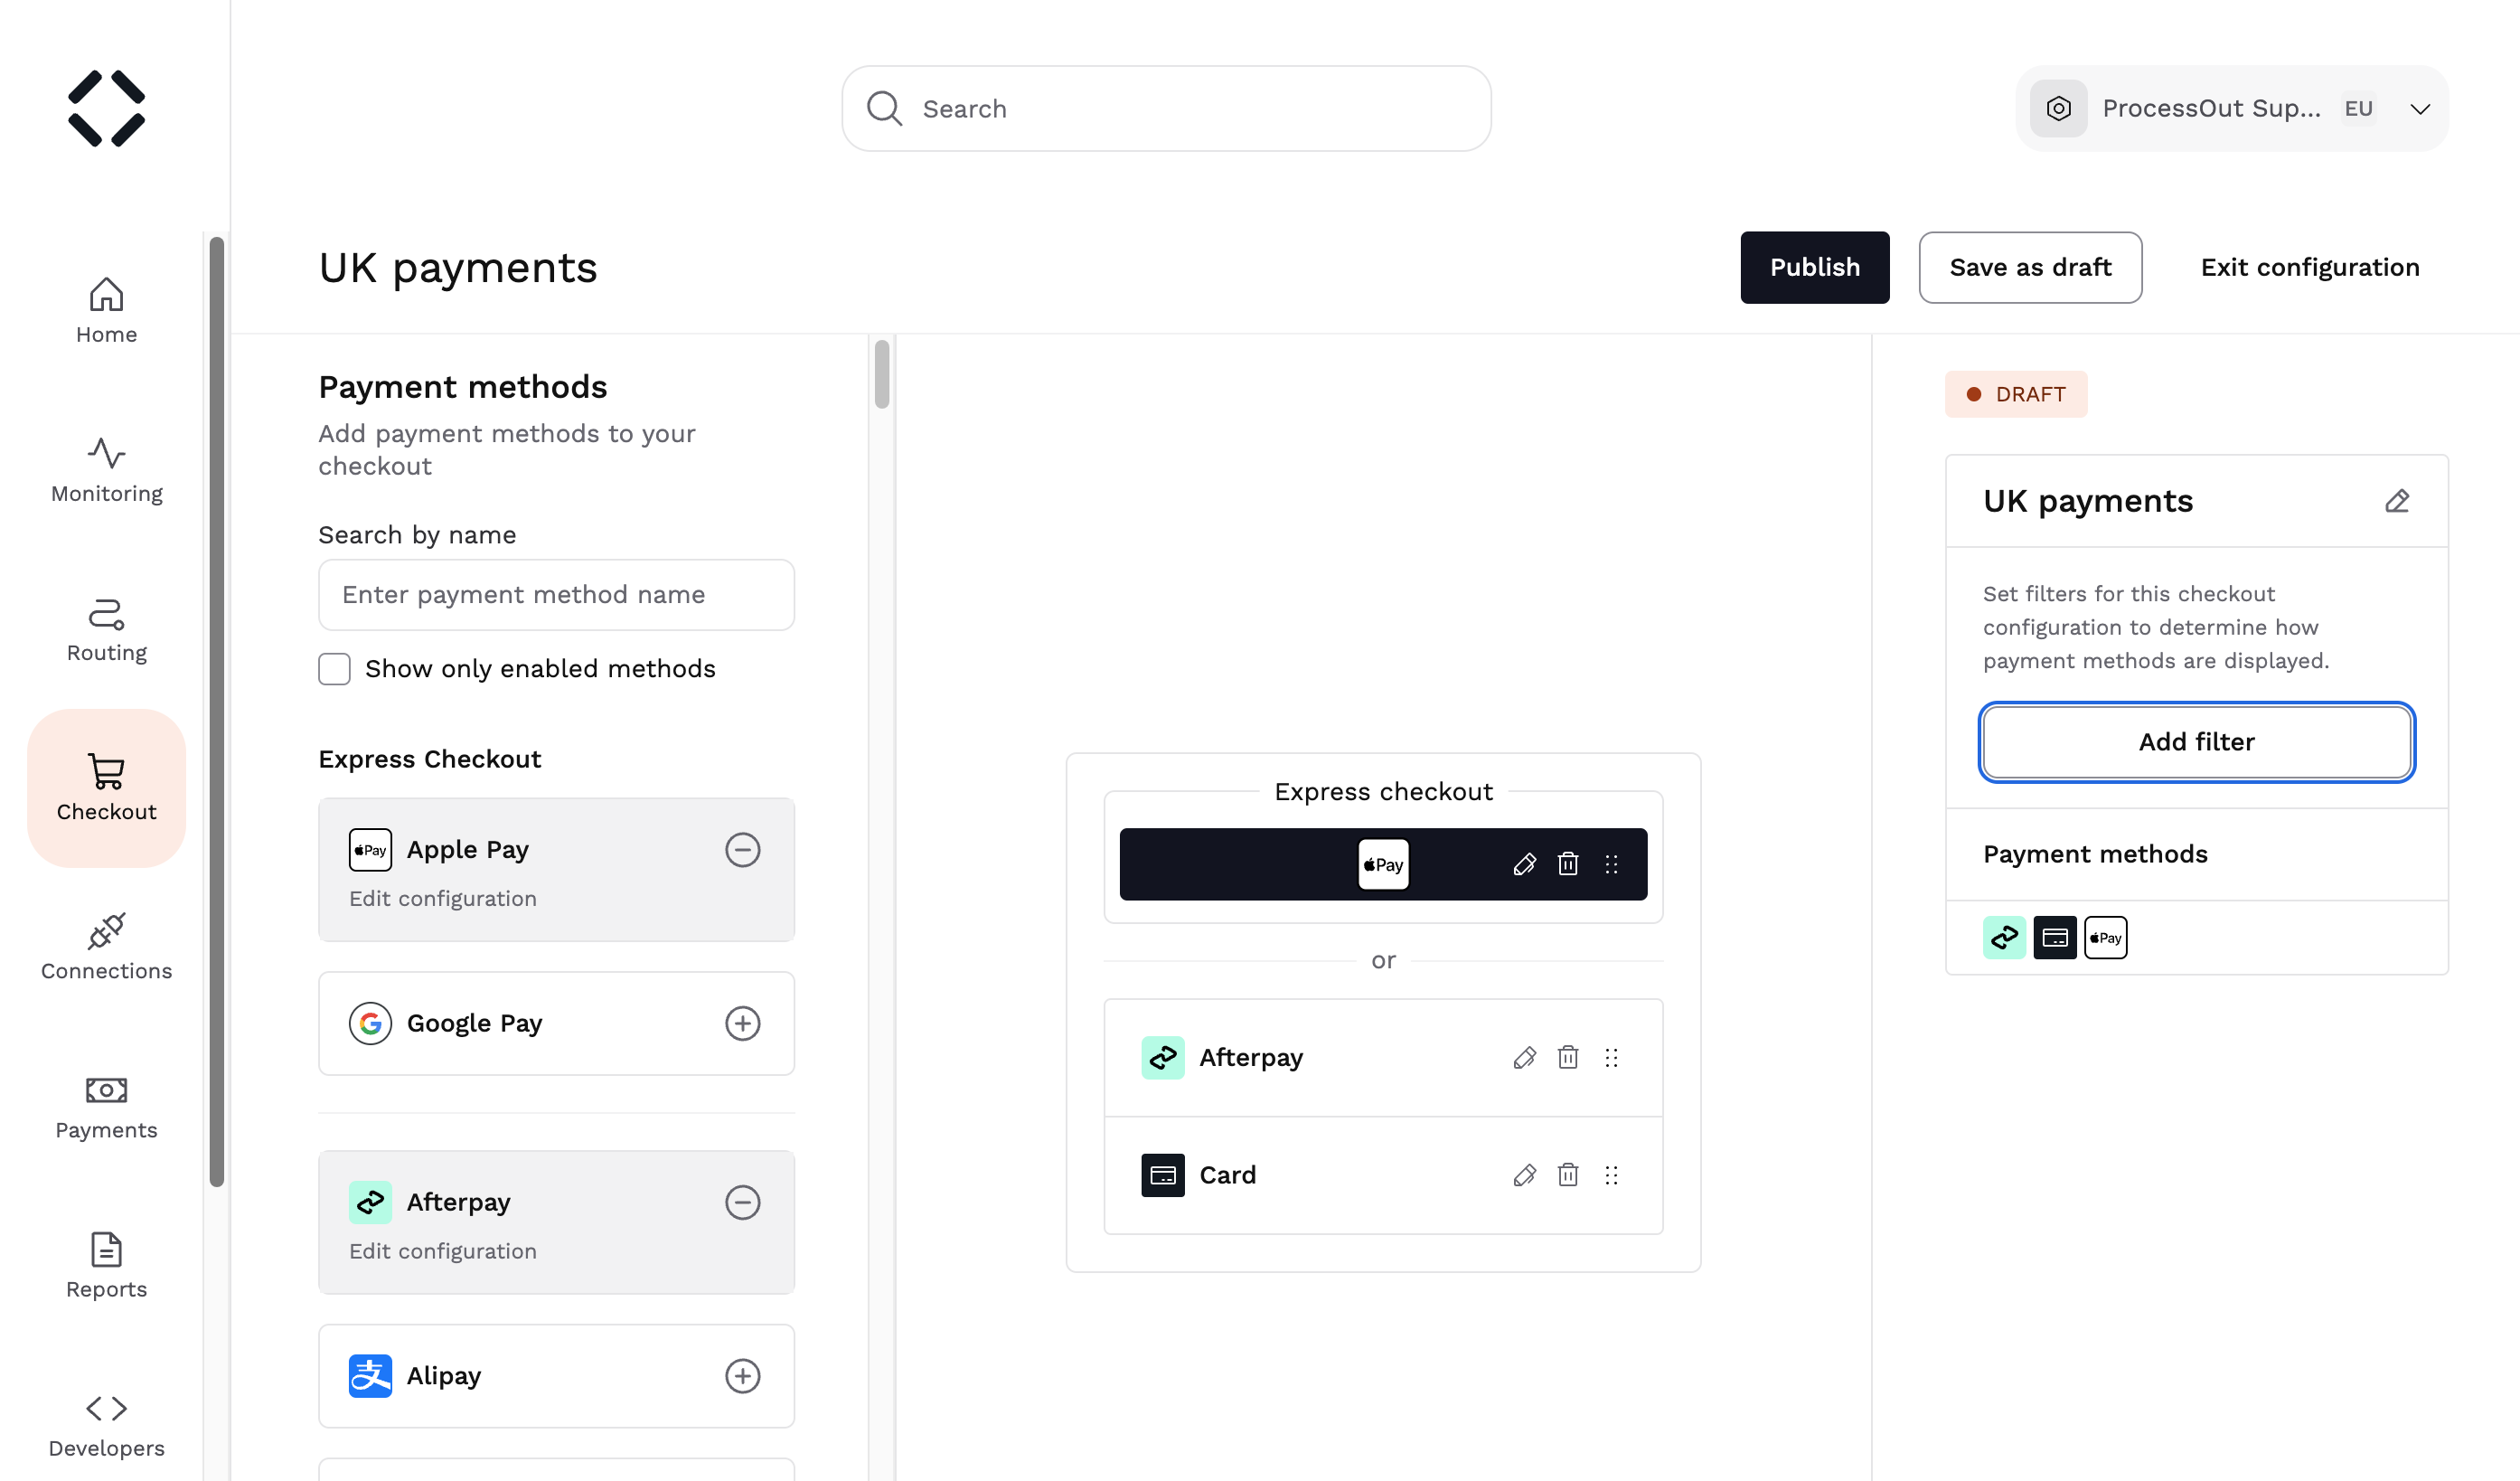
Add a filter for your configuration by clicking "Add filter" in the sidebar
From there you can set the conditions that ProcessOut will use to select your Dynamic Checkout configuration:
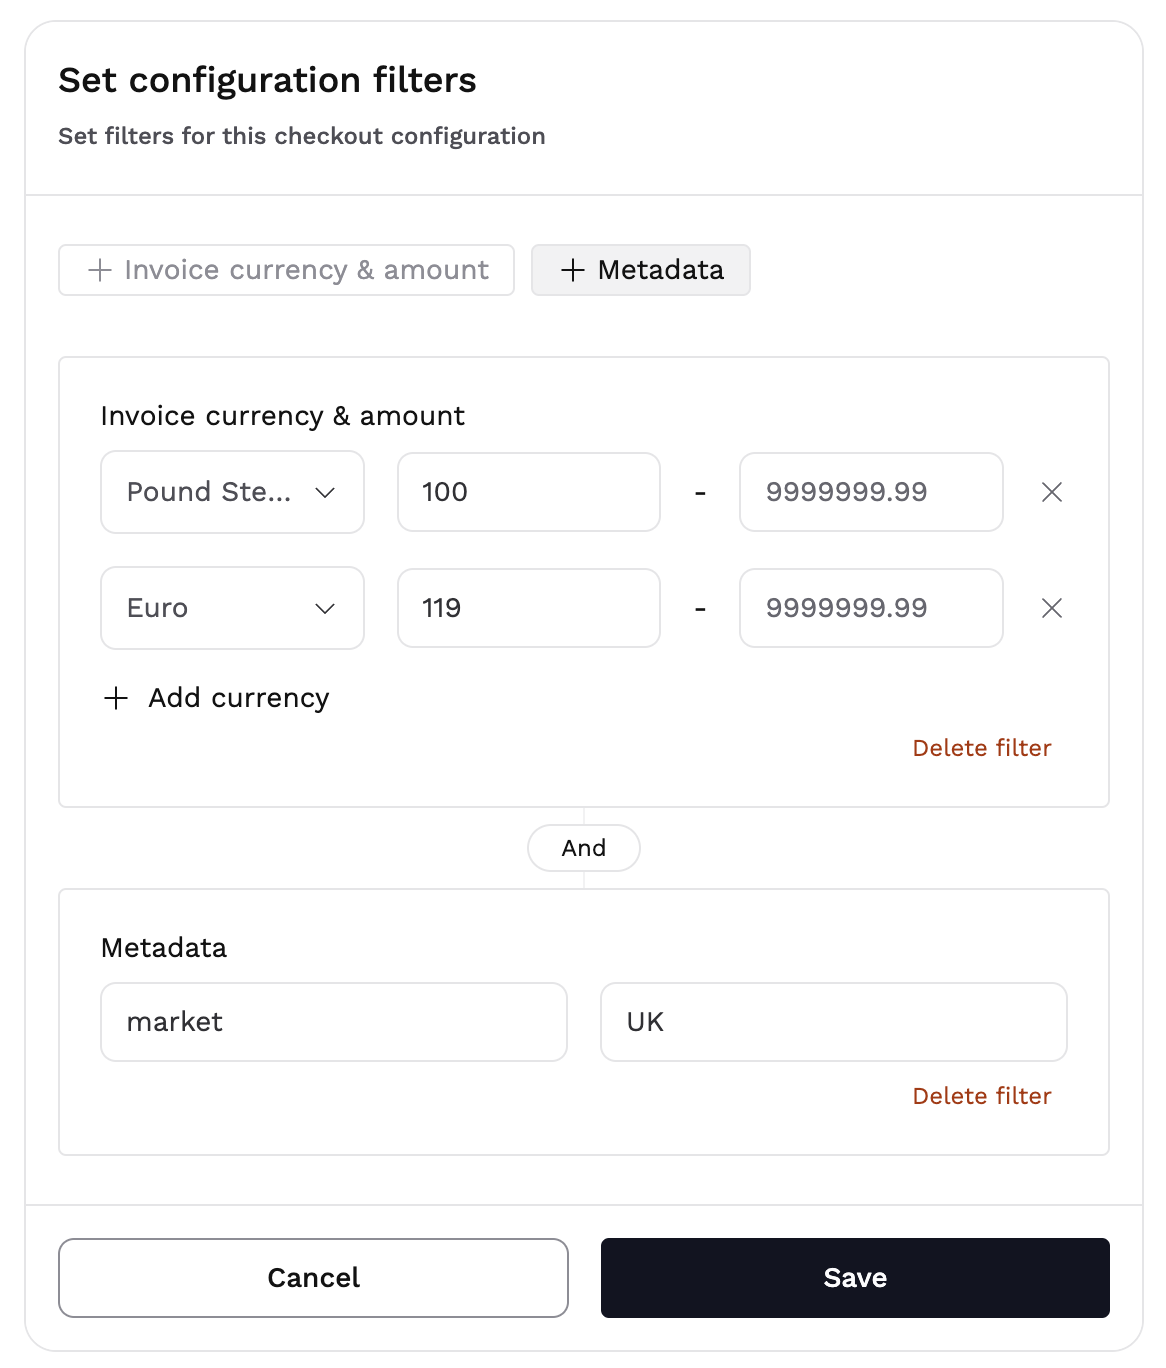
Filters allow you to use "or" and "and" conditions for your configuration
If several configurations match a given transaction, the first configuration in the list will be used. You can manually re-order configurations in the list.
Select and configure payment methods
The payment methods that are configured on your ProcessOut project are available in the left sidebar. You can add them to Dynamic Checkout by clicking the + button.
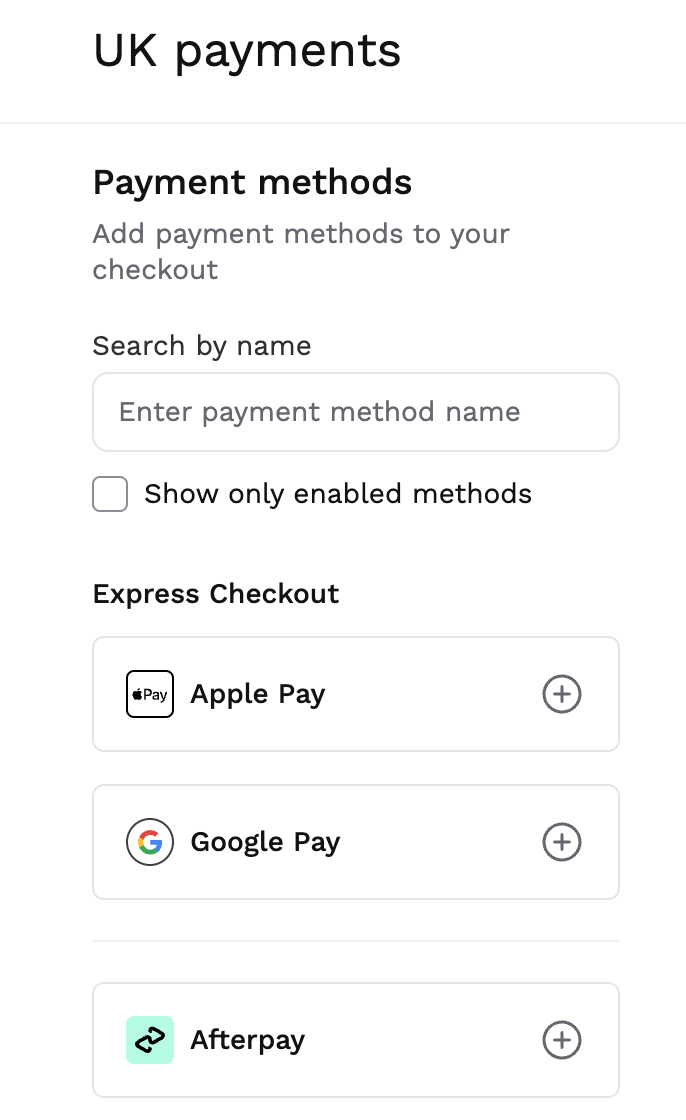
Example of available payment methods
If several payment gateways support the payment method (for APMs), you will be required to select which gateway you want to use. This gives you fine control over how money flows. For example, using different configurations, you can use a EU merchant account for APM transactions within EEA, and a US merchant account with the same provider for American transactions.
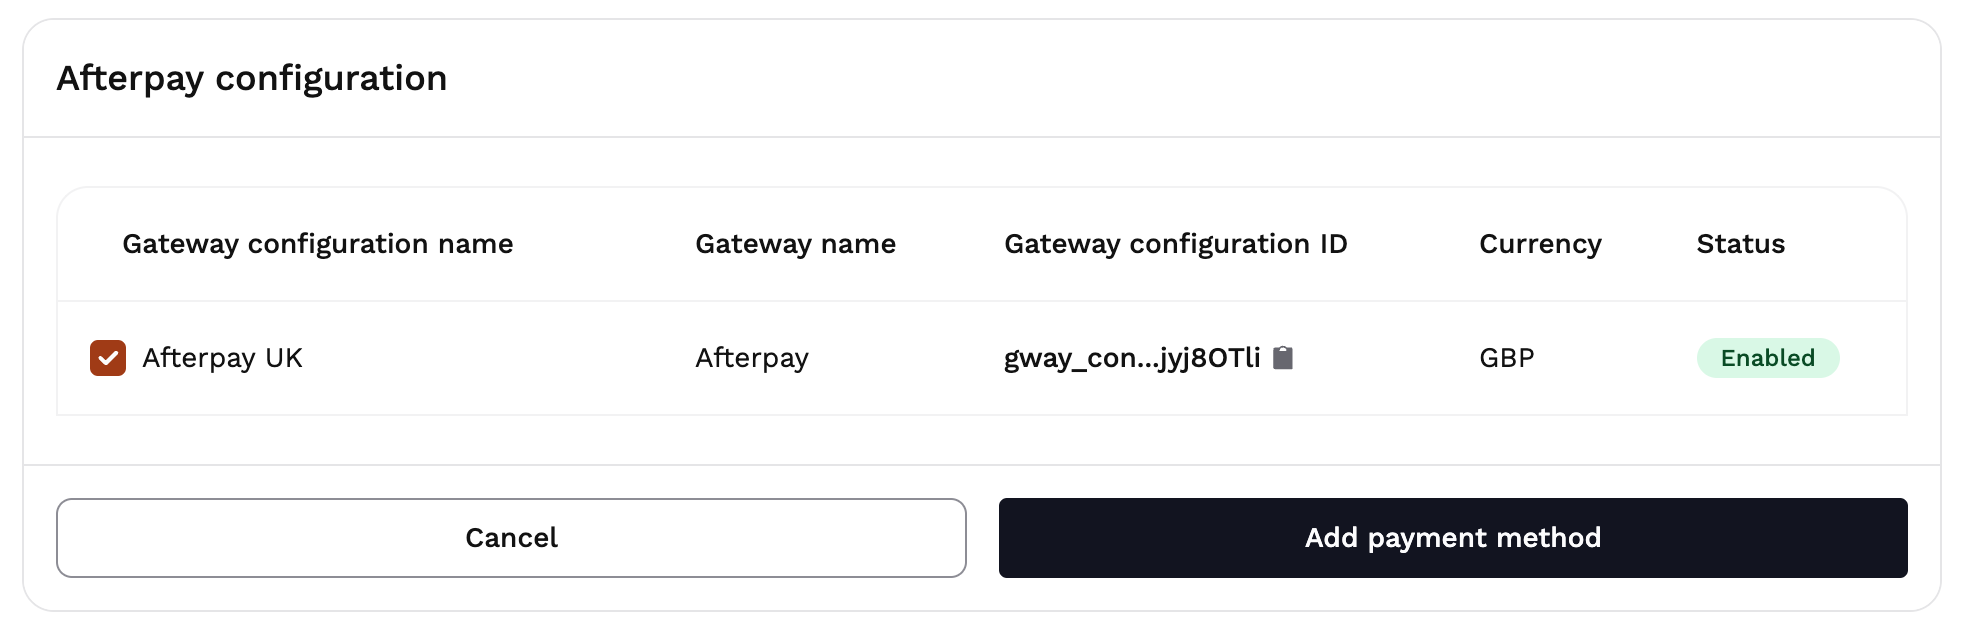
Example of available gateways when adding Everypay as payment method
You can select only one payment provider per APM in each configuration. This prevents creating payment UIs where the same payment method appears several times. If you need to select different providers for the same APM, we recommend using multiple Dynamic Checkout configurations.
Once you have added a payment method, it will show up in the Dynamic Checkout preview, which is located in the middle of the screen. You can re-order payment methods within the preview, which will change the display order within your checkout flow.
Save and publish changes
Each configuration has a draft version that you can edit and save using the Save button on the Dashboard. You can use this to preview and share changes within your team.
When you are ready to roll out your configuration to your users, click the Publish button. Users will see the applied changes instantly for all new payments.